With Easter just around the corner, it’s time to start thinking about dying Easter eggs! It’s a fun and creative tradition that can be enjoyed by kids and adults alike. If you want to take your egg dying game to the next level this year, I’ve got some tips to help you achieve perfectly dyed Easter eggs.
- Start with the right eggs: Before you can start dying your eggs, make sure you’re using the right kind. Fresh white eggs work best for dying since they have a smooth surface and will take on the dye more evenly.
- Hard boil your eggs: To prevent your eggs from cracking while boiling, start by placing them in a pot of cold water and bringing it to a boil. Once the water is boiling, reduce the heat and let the eggs simmer for about 10 minutes. Then, remove them from the heat and let them cool before dying.
- Use vinegar: Adding vinegar to your dye mixture will help the color adhere to the eggshell better. For best results, mix 1 tablespoon of vinegar for every cup of water in your dye solution.
- Get creative with your dye: Don’t limit yourself to store-bought dye kits. You can create unique and vibrant colors using natural ingredients like beets, turmeric, red cabbage, and spinach. Experiment with different combinations to achieve the perfect hue.
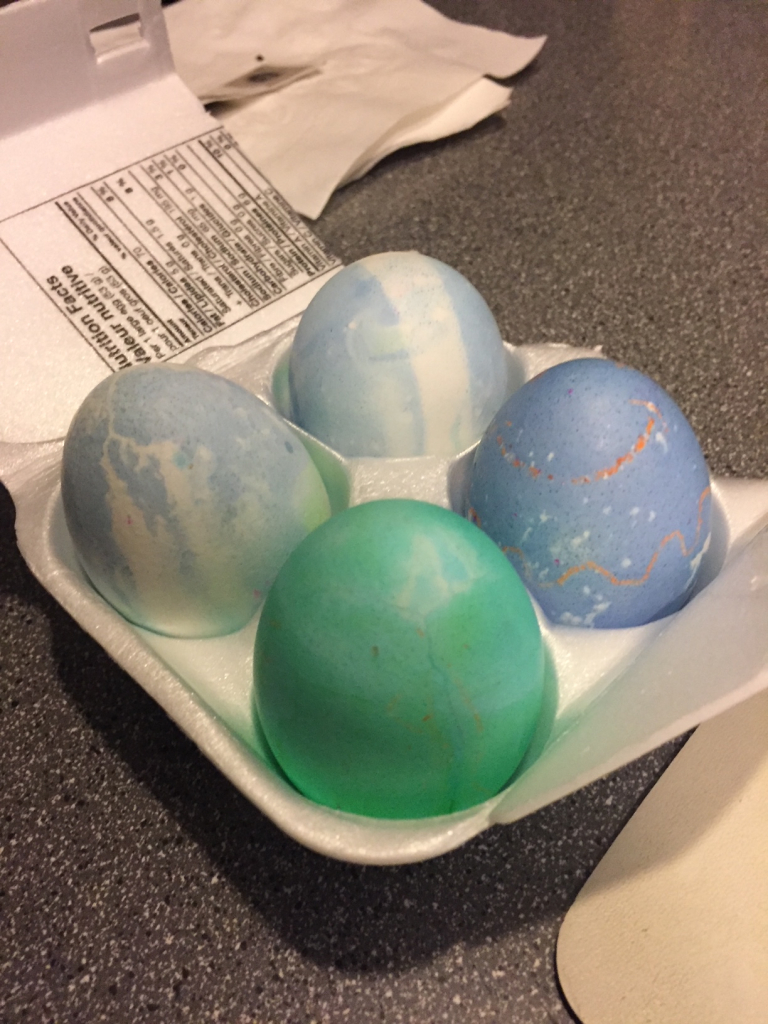
- Use different techniques: Instead of simply dipping your eggs in the dye, try different techniques like marbling, splattering, or tie-dyeing. You can use rubber bands, wax crayons, or stickers to create fun patterns and designs on your eggs before dying them.
- Let the eggs dry properly: After dying your eggs, let them dry completely before handling them. You can use a drying rack or egg carton to prevent the colors from smudging or rubbing off.
- Add a finishing touch: Once your eggs are dry, you can add some extra flair by decorating them with stickers, glitter, or metallic markers. Get creative and make each egg unique!