


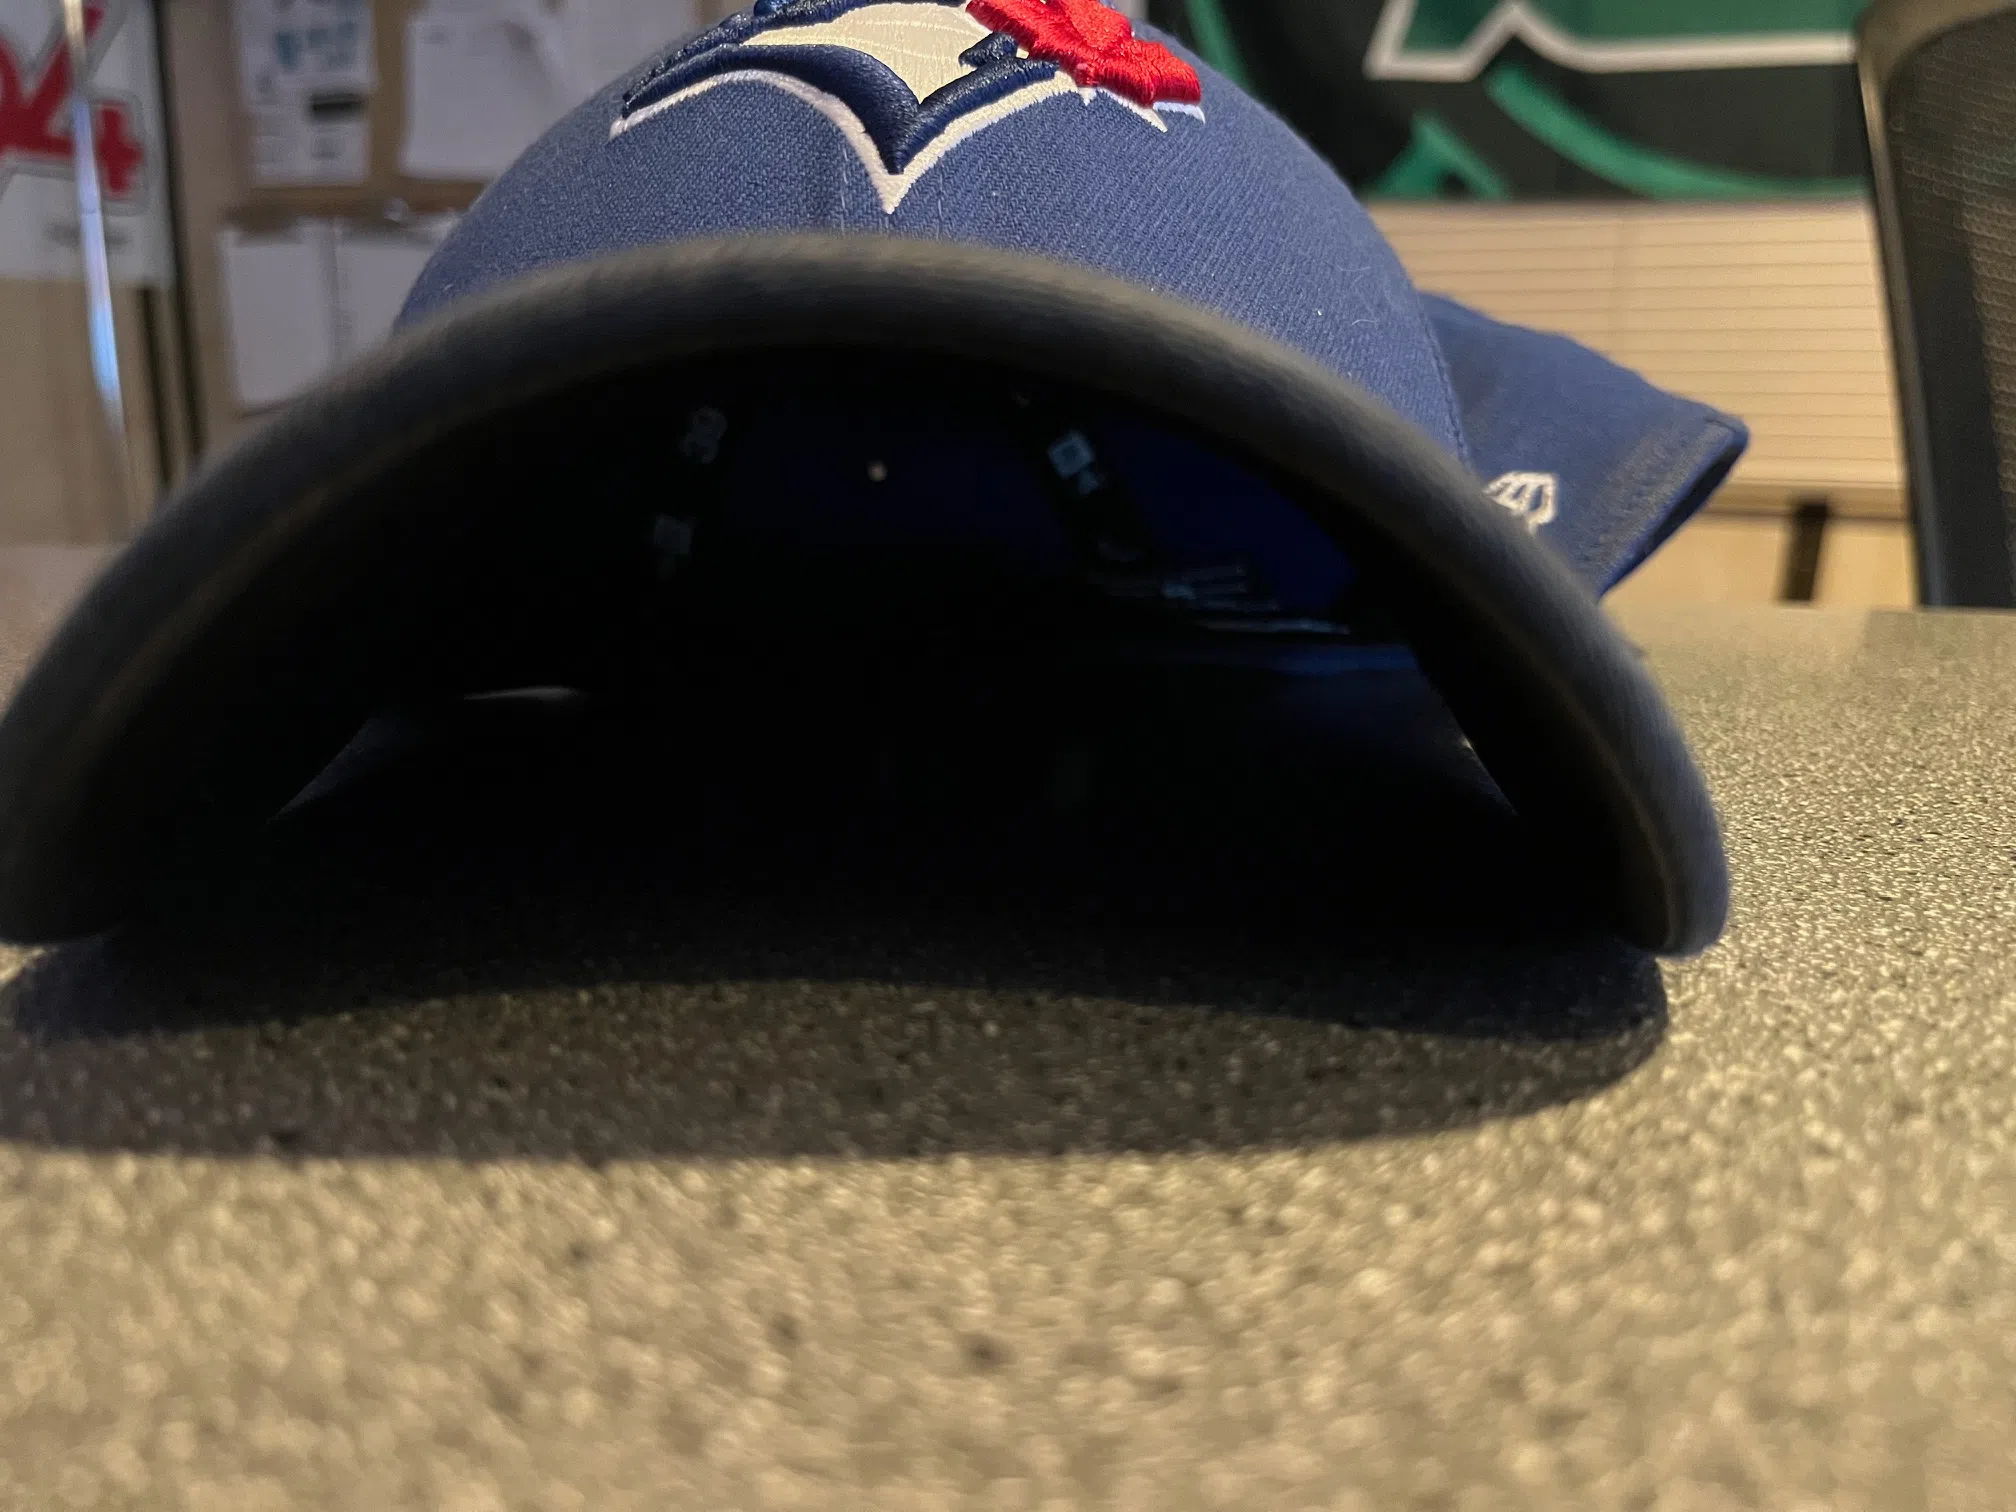
Achieving the perfect curve on a baseball cap brim is both an art and a science, requiring precision and attention to detail. Whether you’re looking to enhance the aesthetics of your cap for professional settings or simply want a refined look, follow this comprehensive guide to master the technique:
1. **Moisten the Brim:** Begin by lightly dampening the brim with water. This step is crucial as it makes the brim more pliable, allowing for easier manipulation without risking damage to the material.
2. **Mold the Shape:** Select a cylindrical object like a sturdy mug or a small ball that closely matches the desired curve. Carefully wrap the brim around this object, ensuring an even distribution of pressure. Use elastic bands to secure the brim in place, ensuring that the curve is consistent on both sides.
3. **Apply Gentle Heat:** With the brim secured, use a hairdryer on a low heat setting to gently warm the material. This helps to set the curve more effectively, but it’s important to maintain a safe distance to prevent warping or overheating. Move the dryer evenly across the brim to avoid hot spots.
4. **Set Overnight:** Allow the cap to sit in a cool, dry area overnight. This duration is essential for the brim to retain its shape permanently, ensuring that your efforts yield a long-lasting result.
5. **Adjust for Perfection:** Once the brim has set, make any minor adjustments needed to achieve the desired curve. A subtle bend can offer a classic and understated look, while a more pronounced curve can provide a modern and distinctive style.


Comments